Scani5 Agent Installation (Windows)
Step-by-step guide to install the Scani5 Agent on Windows using either the installation wizard, CLI, or Active Directory deployment.
Table of Contents
1. Manual Installation (Wizard)
Follow these steps to install the Scani5 Agent manually on an individual Windows system.
When installing Node.js, enable all dependency-related checkboxes.
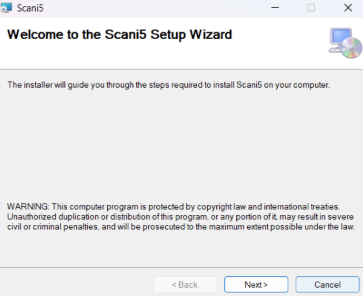
Step 1: Open the extracted release folder
Select the Release folder inside the extracted package and double-click the .msi installer.

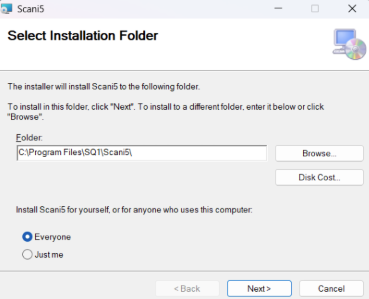
Step 2: Choose install location
Browse and select an installation path, or keep the default path. Set install scope to Everyone.
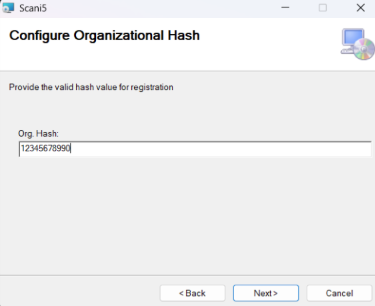
Step 3: Enter organization hash
Enter the valid organization hash provided during registration.
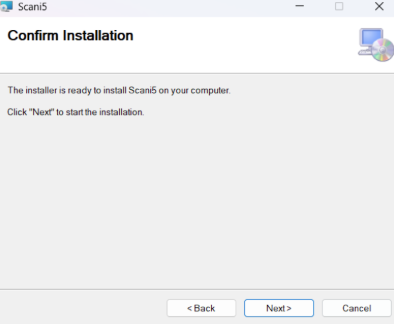
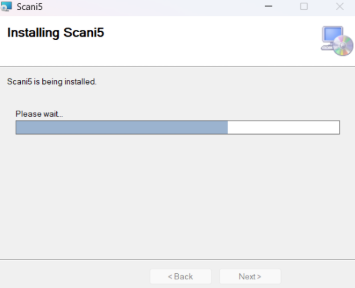
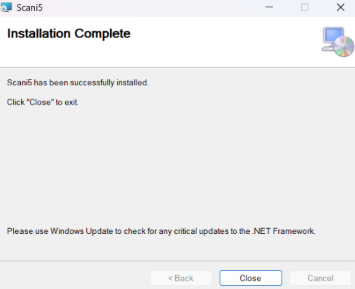
Step 4: Continue and complete installation
Click Next to proceed. After successful installation, click Close.
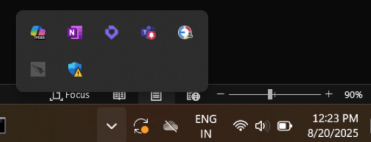
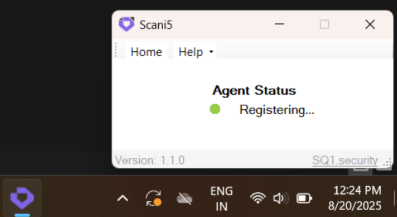
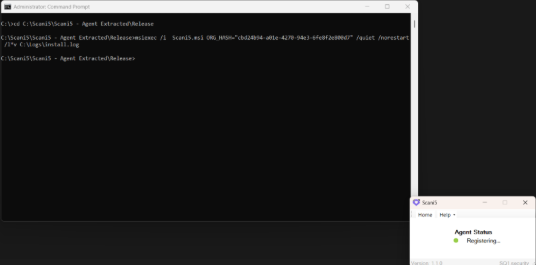
Step 5: Verify tray application
After installation, the agent runs from the system tray. Open it from the tray to confirm the application screen.
2. Manual Installation (CLI)
Use this approach for silent installation or script-based deployment.
Step 1: Open terminal as Administrator
Run Command Prompt (or another terminal) with Administrator privileges.
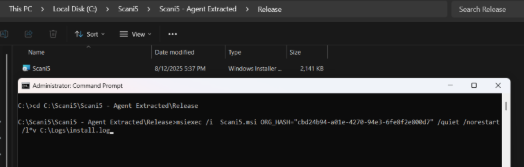
Step 2: Navigate to installer location
cd "C:\Scani5\Scani5 - Agent Extracted\Release"
Step 3: Run silent install command
Replace the organization hash value with your actual hash.
msiexec /i Scani5.msi ORG_HASH="---provided Org. Hash value---" /quiet /norestart /l*v C:\Logs\install.log
3. Active Directory Installation
Use Group Policy startup scripts to deploy Scani5 Agent across domain-joined systems.
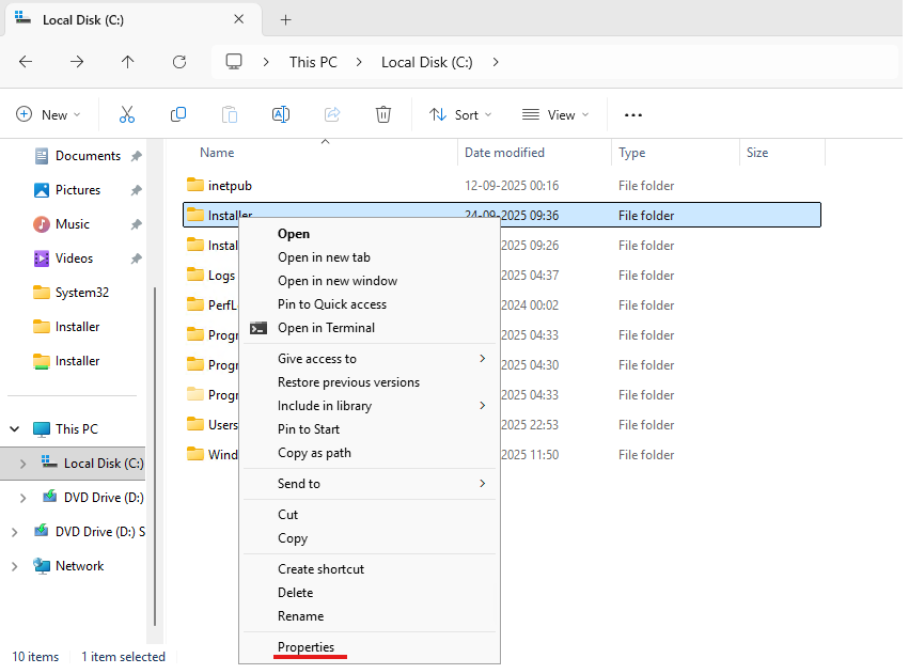
Step 1: Share the installer directory
Right-click the installer folder and open Properties > Sharing.
Step 2: Share with users
Click Share.

Select Everyone, then click Share.
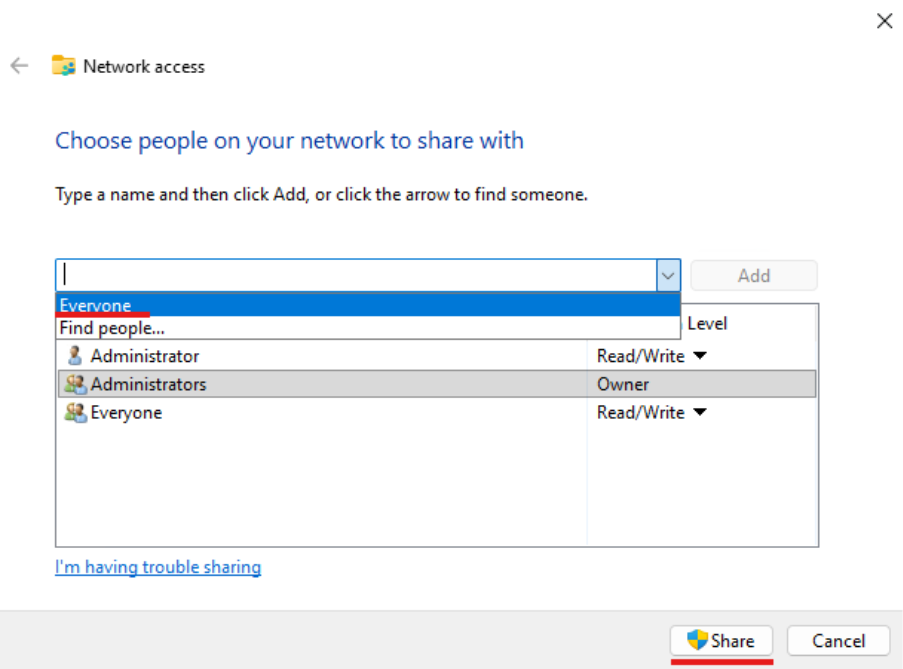
The installer directory is now network-accessible.
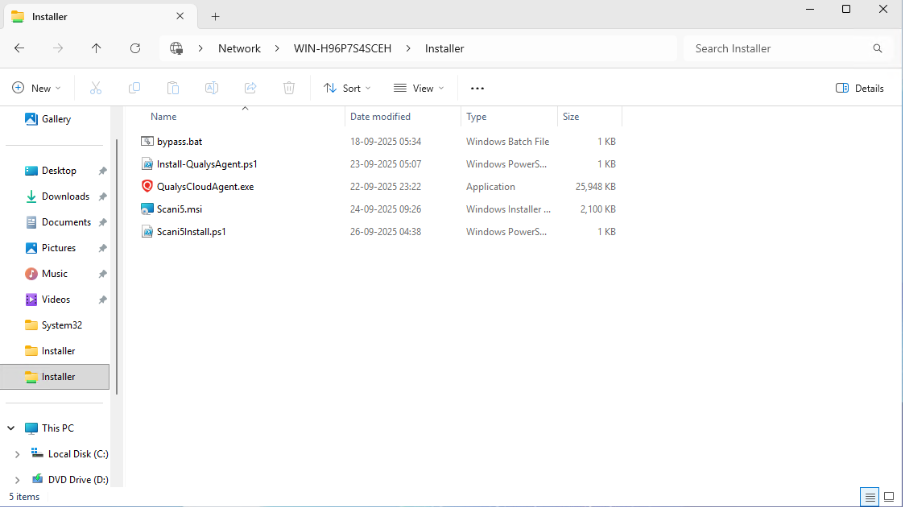
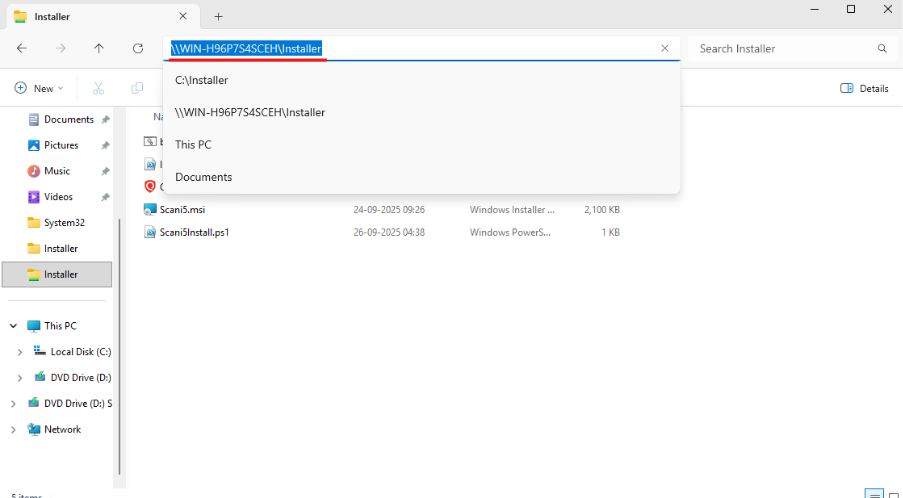
Step 3: Copy full network path to MSI
Get the shared folder path from File Explorer. Example:
\\WIN-H96P7S4SCEH\Installer\Scani5.msi
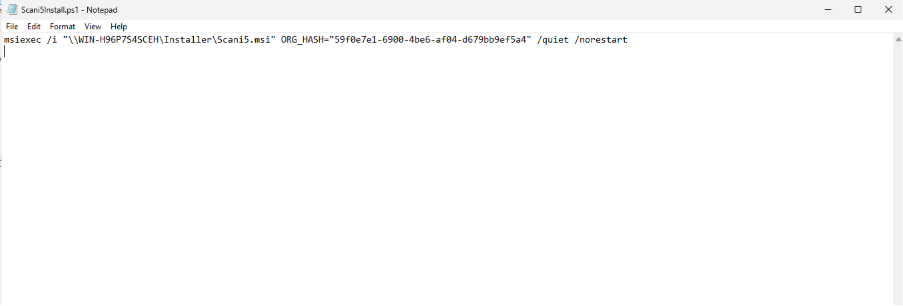
Step 4: Create PowerShell installation script
Create a .ps1 file (for example Scani5Install.ps1) and add:
msiexec /i "\\server\share\Scani5.msi" ORG_HASH="Scani5 Org Hash value" /quiet /norestart
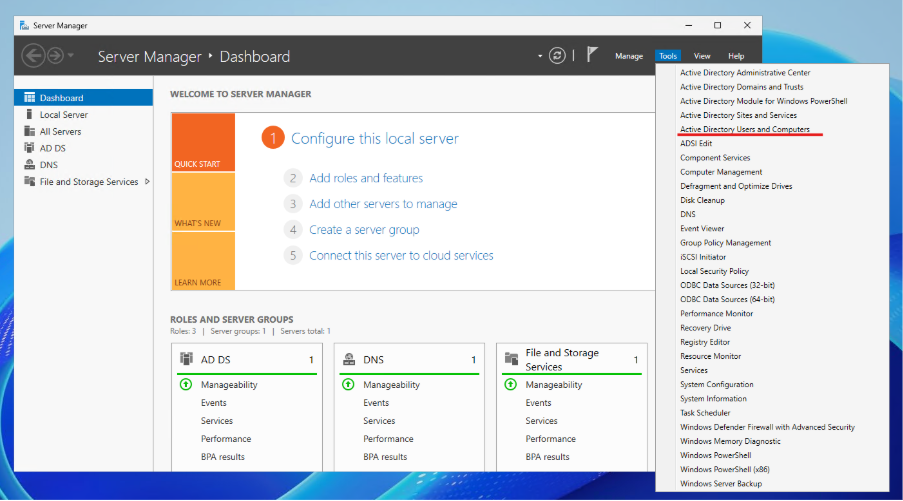
Step 5: Open AD and GPO tools
Open Server Manager.
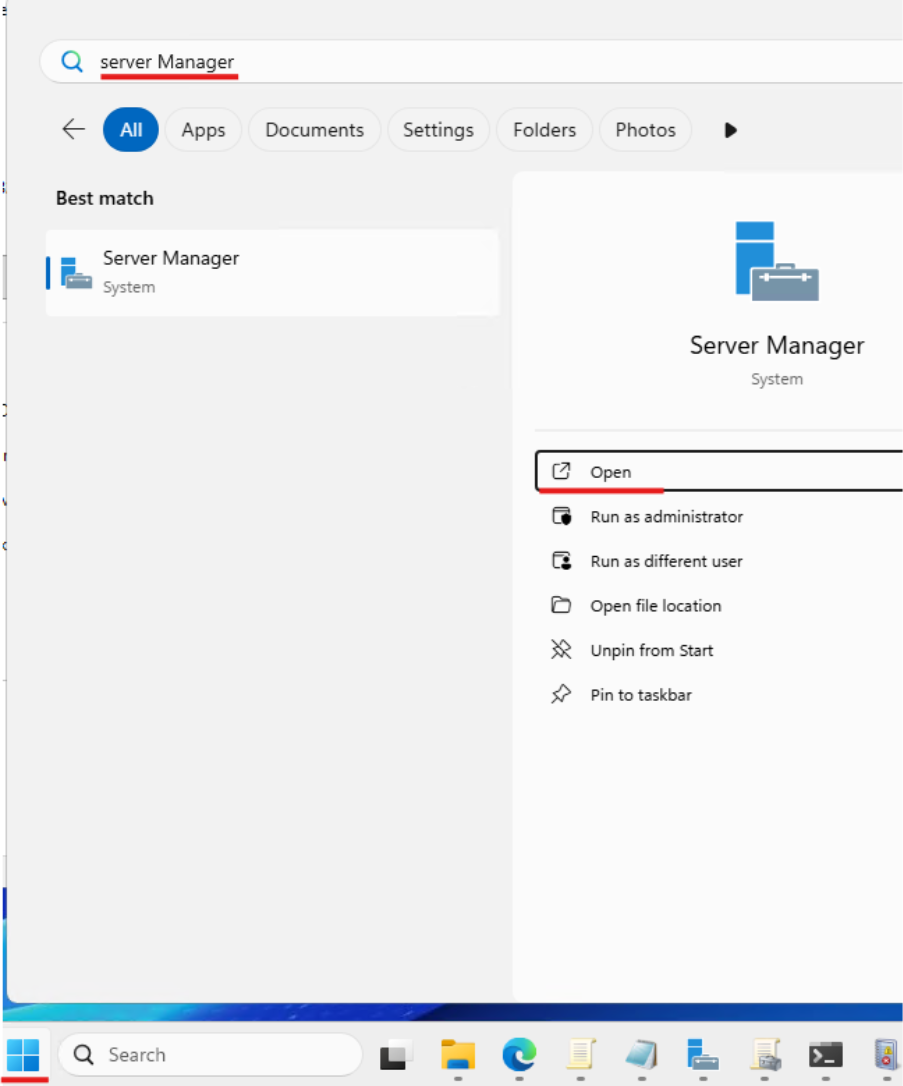
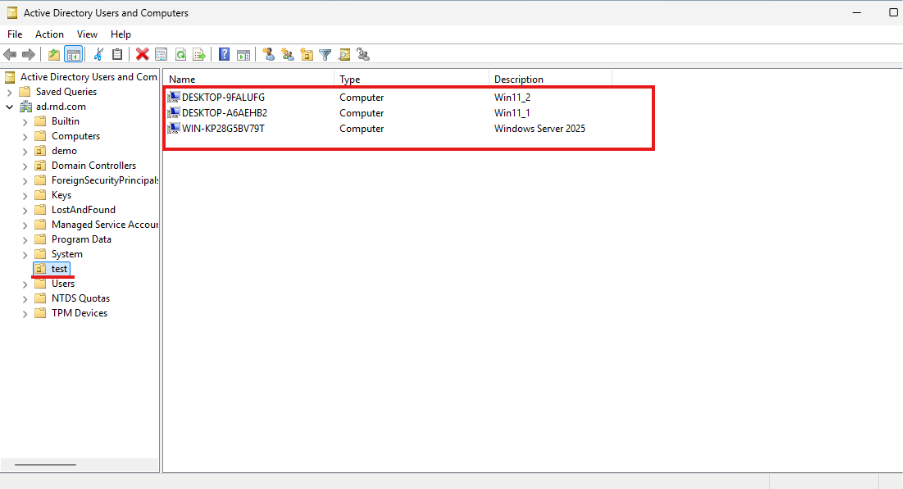
Go to Tools > Active Directory Users and Computers.
Verify target PCs in the intended Organizational Unit (OU), such as test.
Step 6: Create and edit GPO
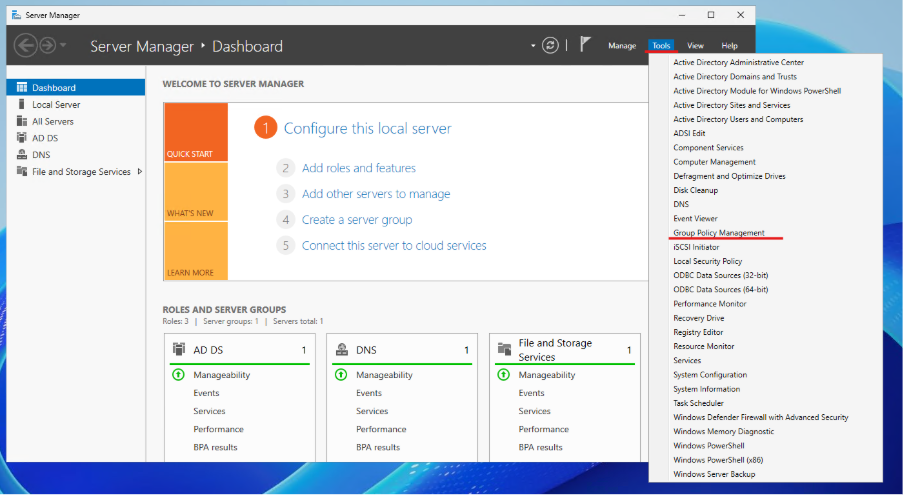
In Server Manager, go to Tools > Group Policy Management.
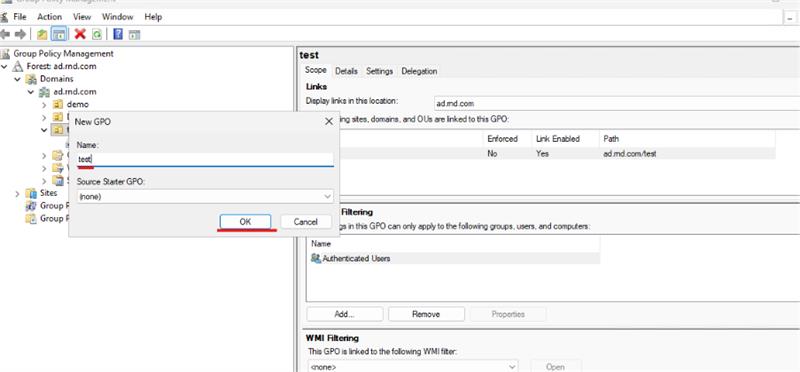
Create and link a new GPO in the domain.
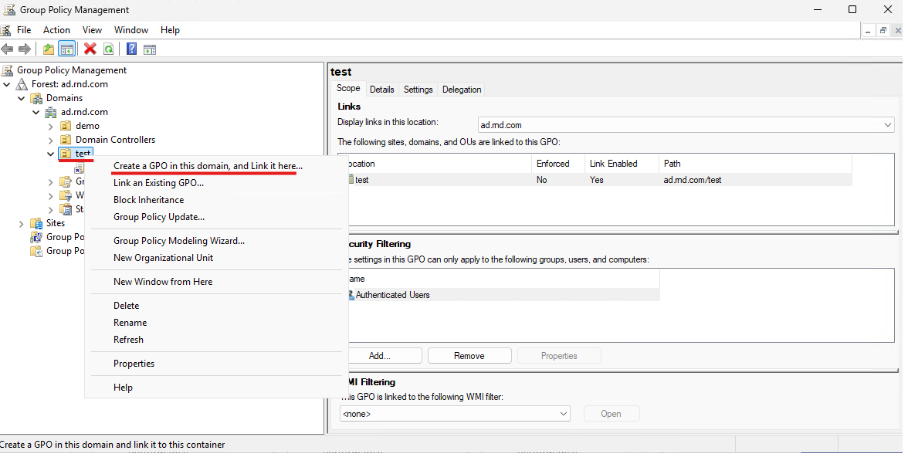
Name the policy (example: test) and click OK.
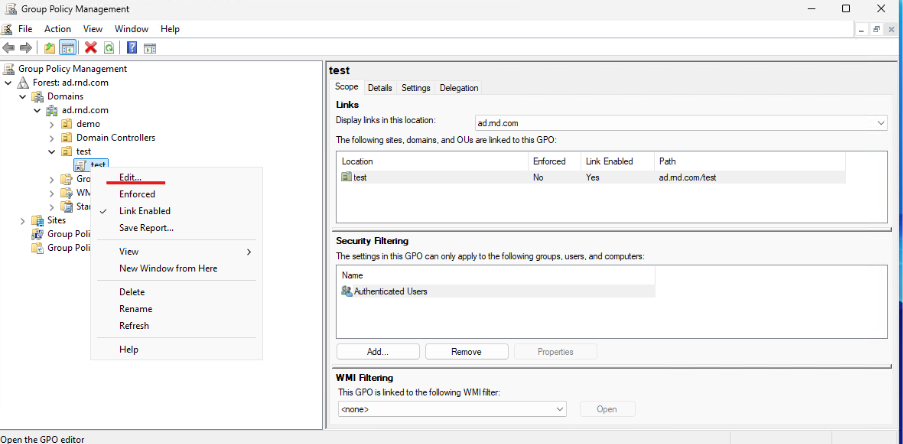
Right-click the created policy and click Edit.
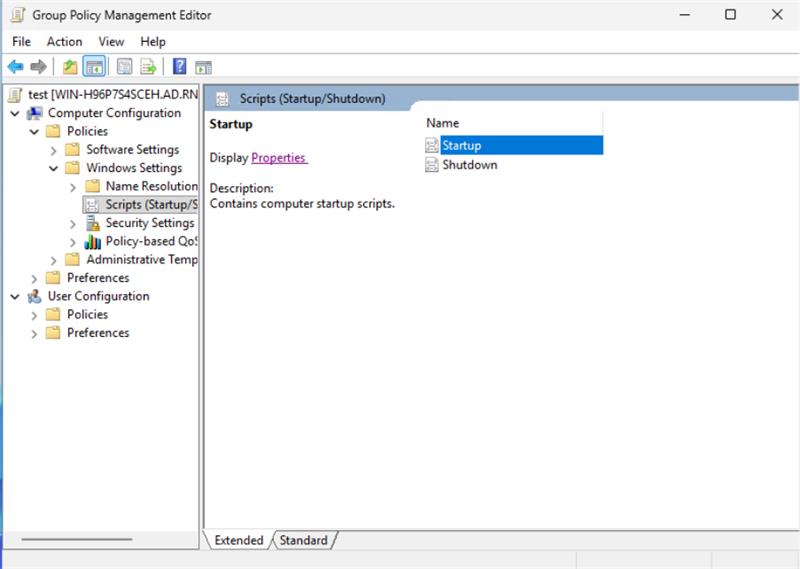
Step 7: Add startup script
Go to:
Computer Configuration > Policies > Windows Settings > Scripts (Startup/Shutdown) > Startup
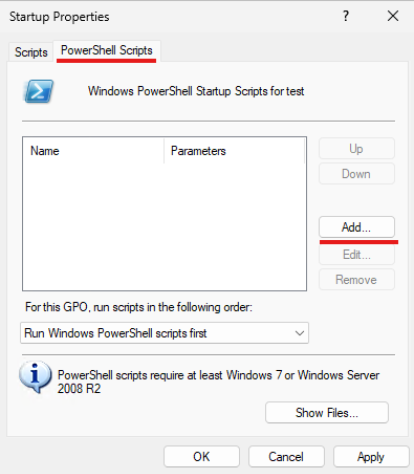
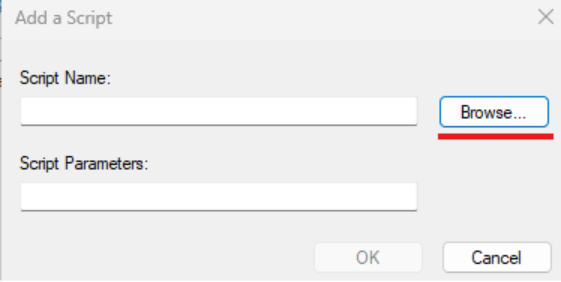
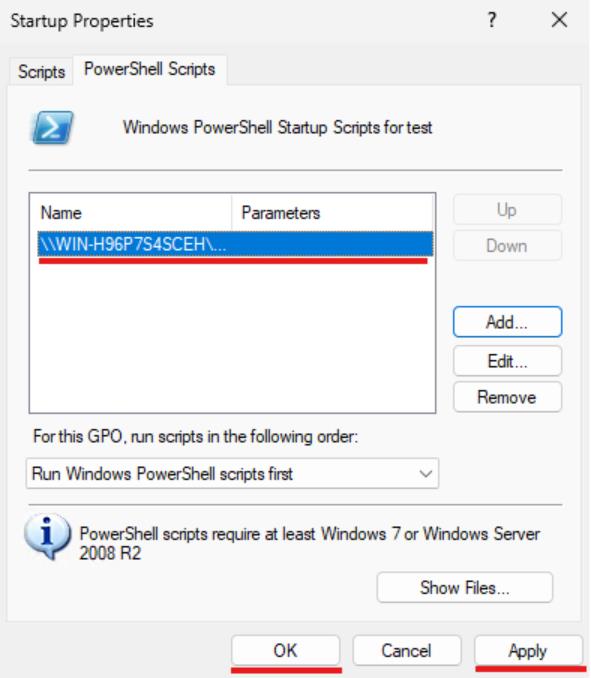
Open Startup Properties, choose PowerShell Scripts, and click Add.
Click Browse.
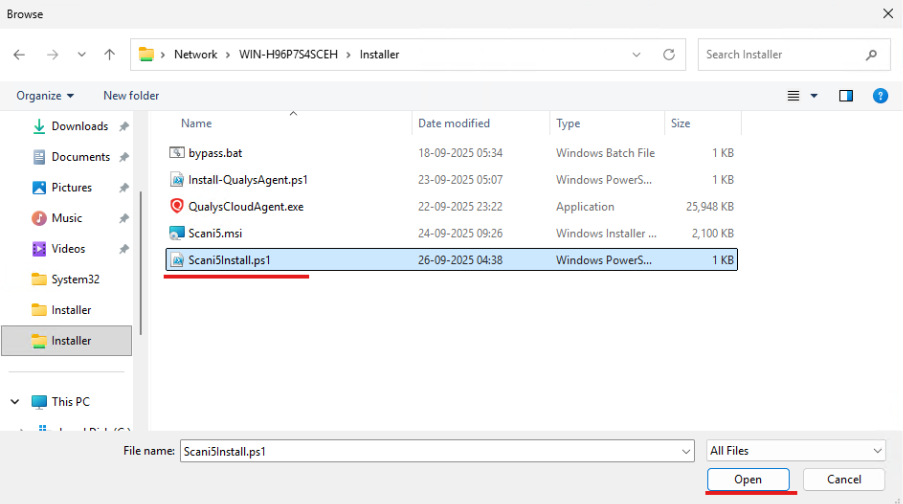
Select Scani5Install.ps1 and click Open.
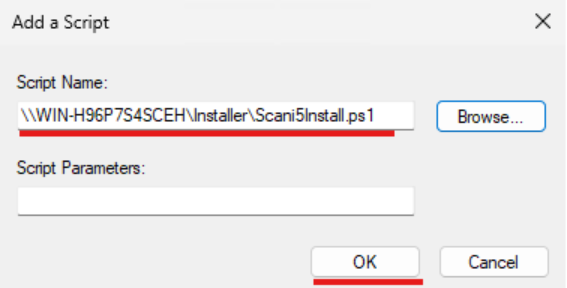
Confirm with OK.
Click Apply, then OK.
Step 8: Enable script execution
Go to:
Computer Configuration > Administrative Templates > Windows Components > Windows PowerShell > Turn on Script Execution
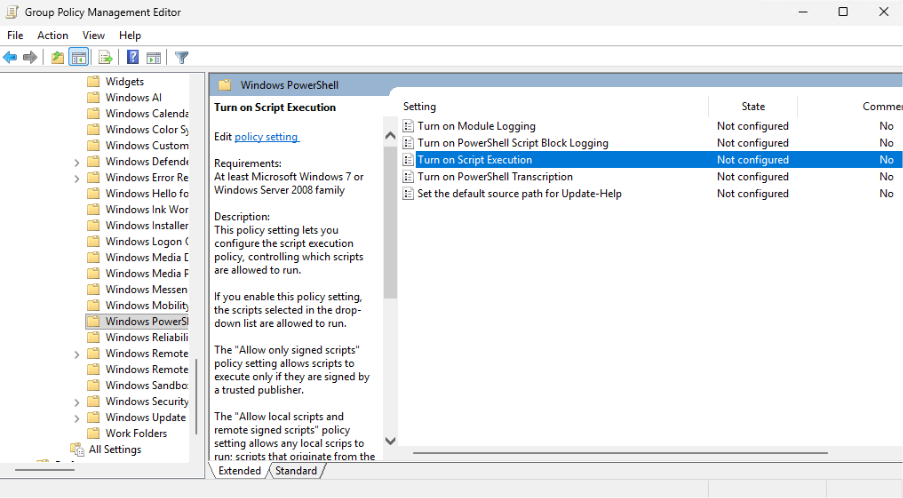
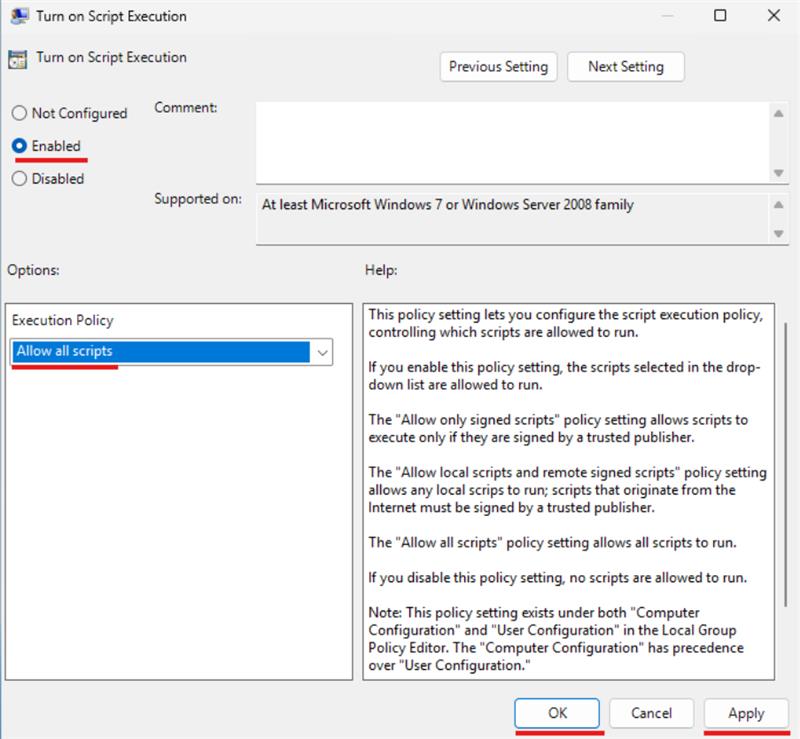
Set to Enabled and choose Allow all scripts, then click Apply and OK.
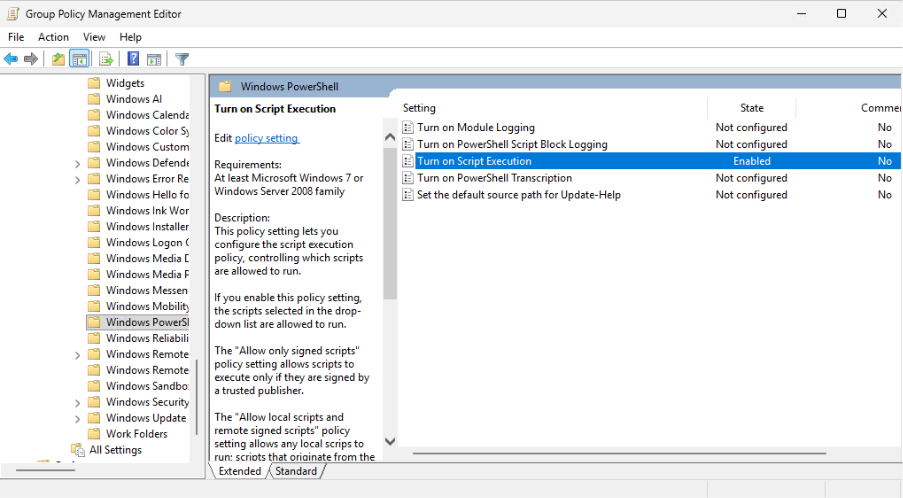
Verify that script execution is enabled.
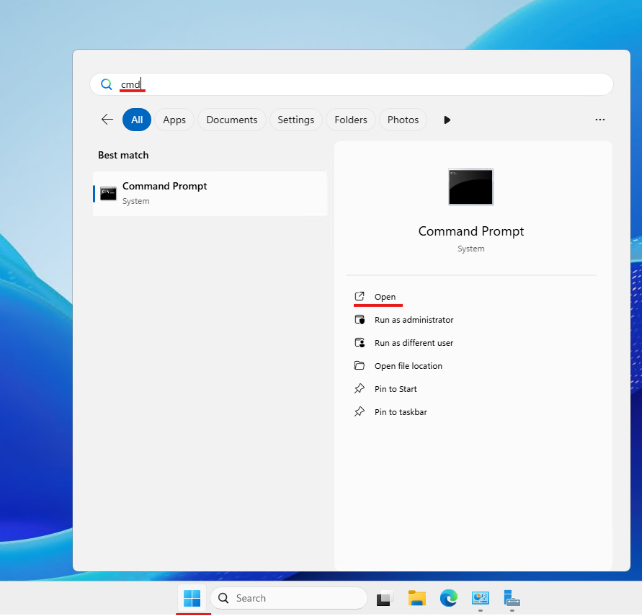
Step 9: Trigger policy from client machine
On a client PC, open Command Prompt.
Run policy update and restart if needed.
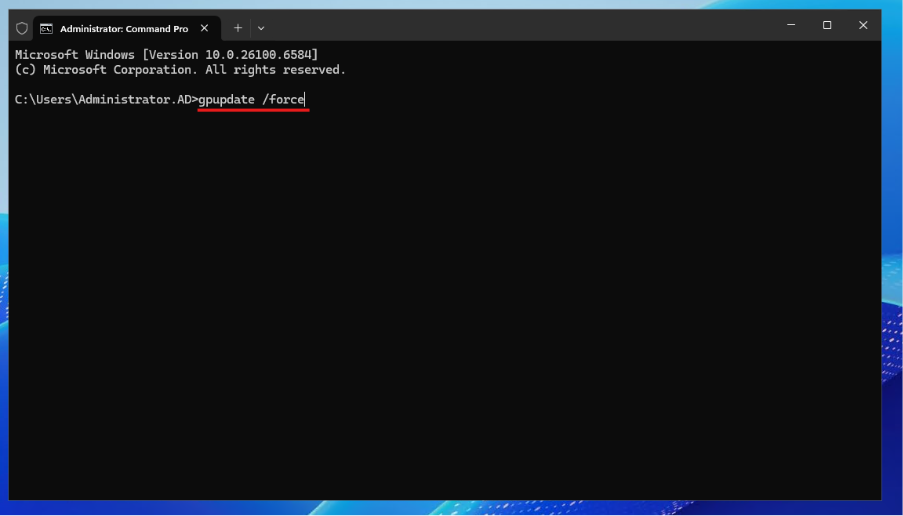
After restart, wait a few minutes. Scani5 Agent should be installed and running.
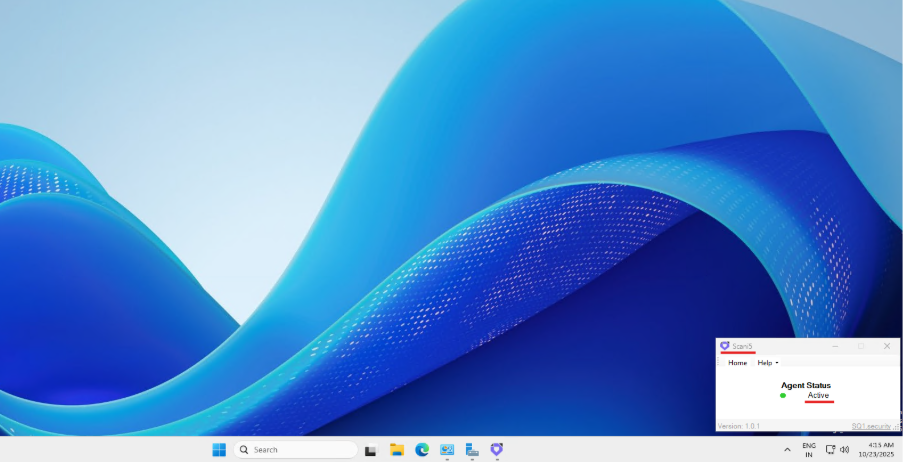
Scani5 Agent is installed and ready to run on Windows systems.